
 Tweet
Tweet
Why not make the hole smaller and seal around the hole?
-
6k LG 300, 16S, 2E, 2W, Solaredge P400s and SE5000 -
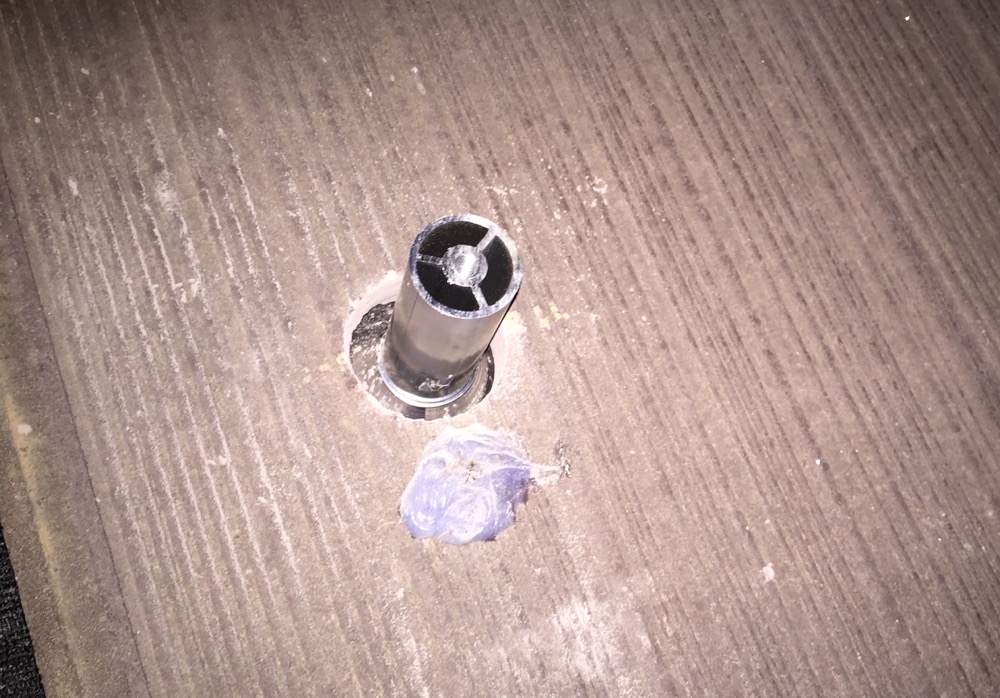
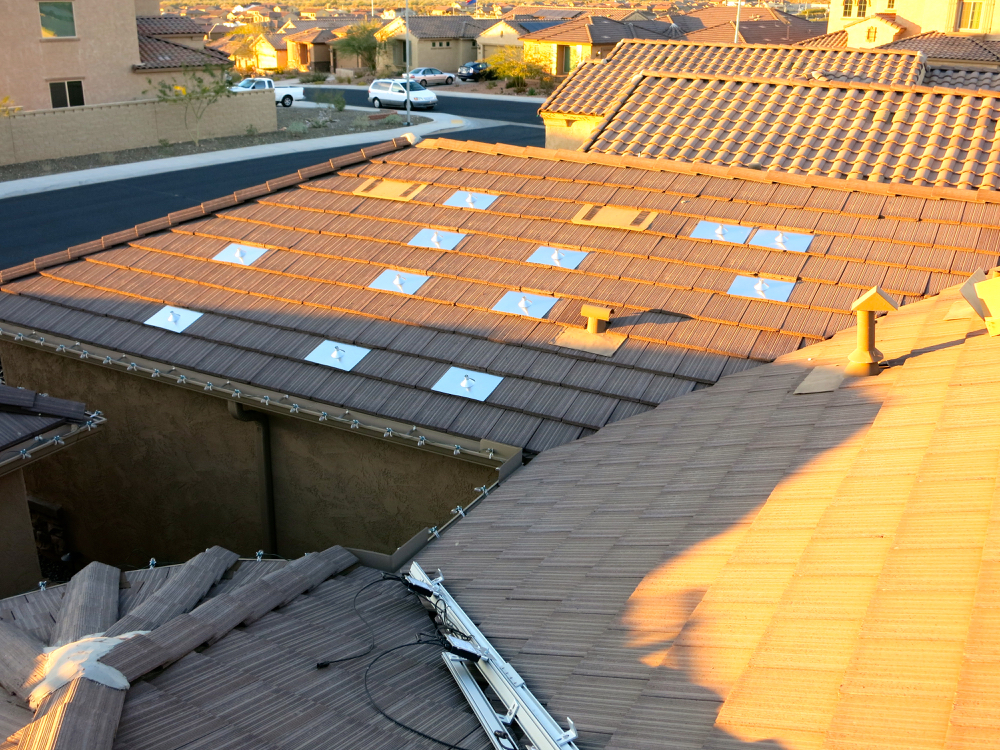
For the tile to clear the aluminum cone of the subflashing, the hole has to be pretty big. I tried doing a 2" hole before, as you can see here, but the tile is actually pressing down on the cone area underneath and not sitting flush against the surrounding tiles. The hole has to be about 3" for it to clear properly.
The installation instructions don't call for sealing up the hole because it's not necessary, you have a piece of top flashing that goes under the next layer of tiles up so really there isn't much way for water to get into the hole...and even if some does get in, you have the underlayment to take care of it.
Comment
-
Off the internet, looks to be the same parts & install...Comment
-
Honestly I th no the bigger problem would be the come creasing and possibly cracking, potentially letting water in. The flashing aluminum is very soft and I did crease a couple just by place a tile down to measure. I see no down side to a slightly bigger hole so definitely going that way.Comment
-
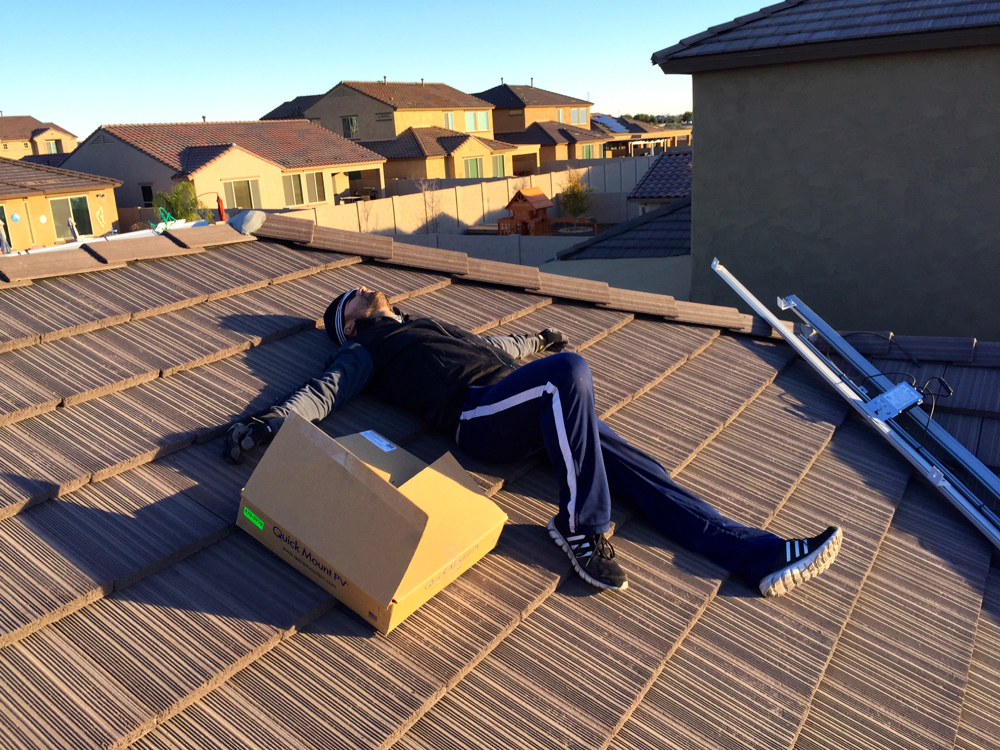
Hallelujah!!!
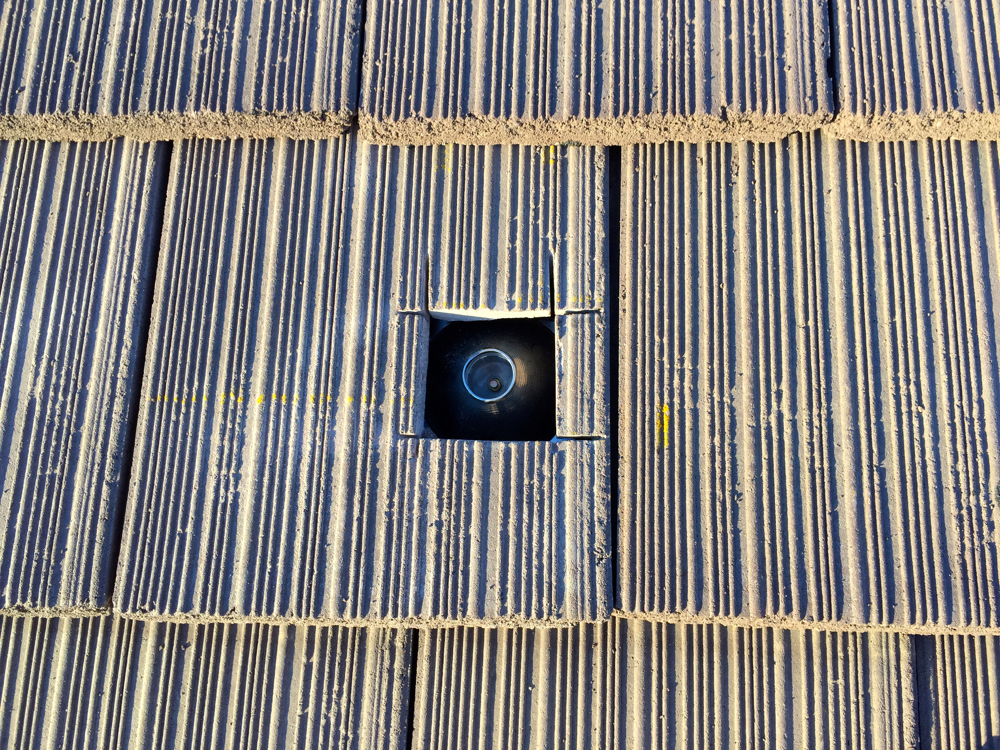
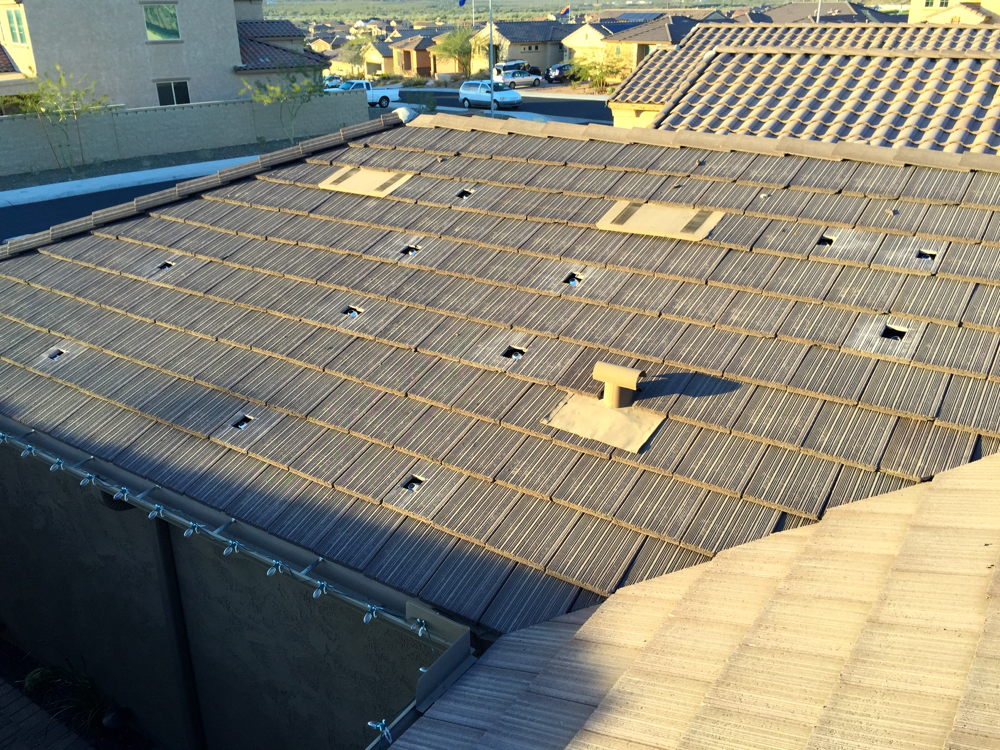
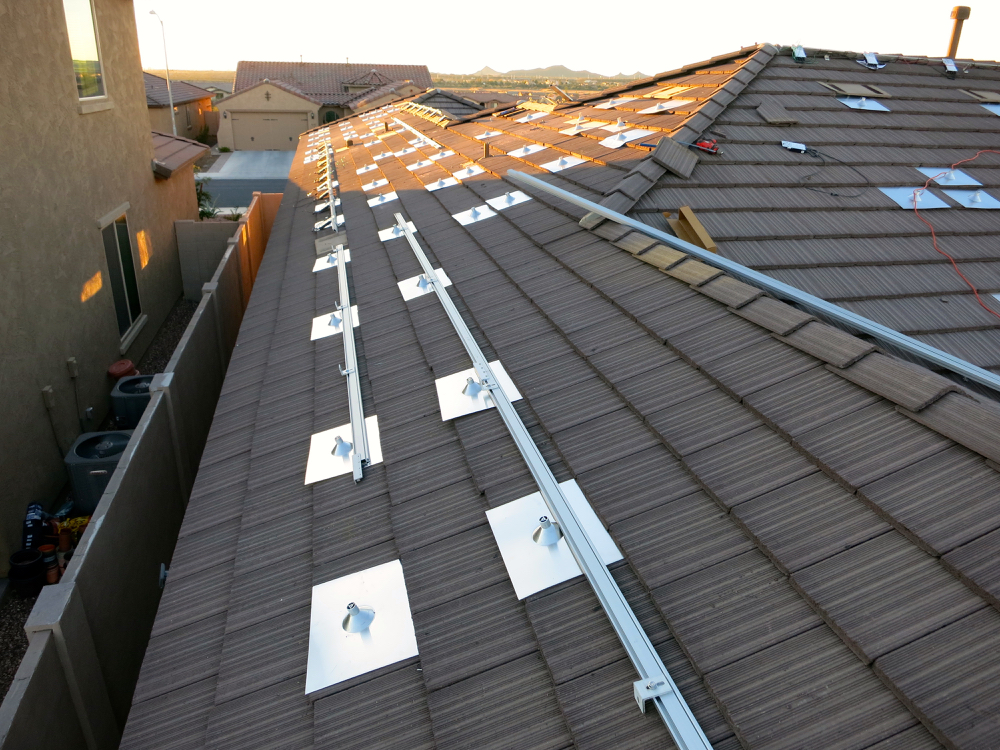
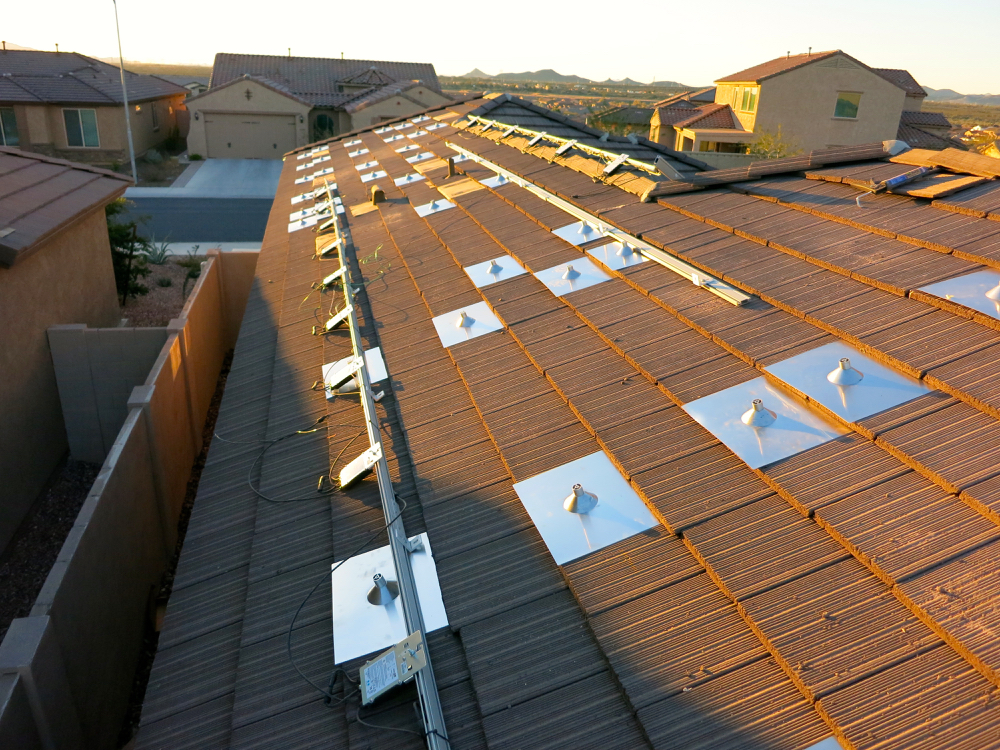
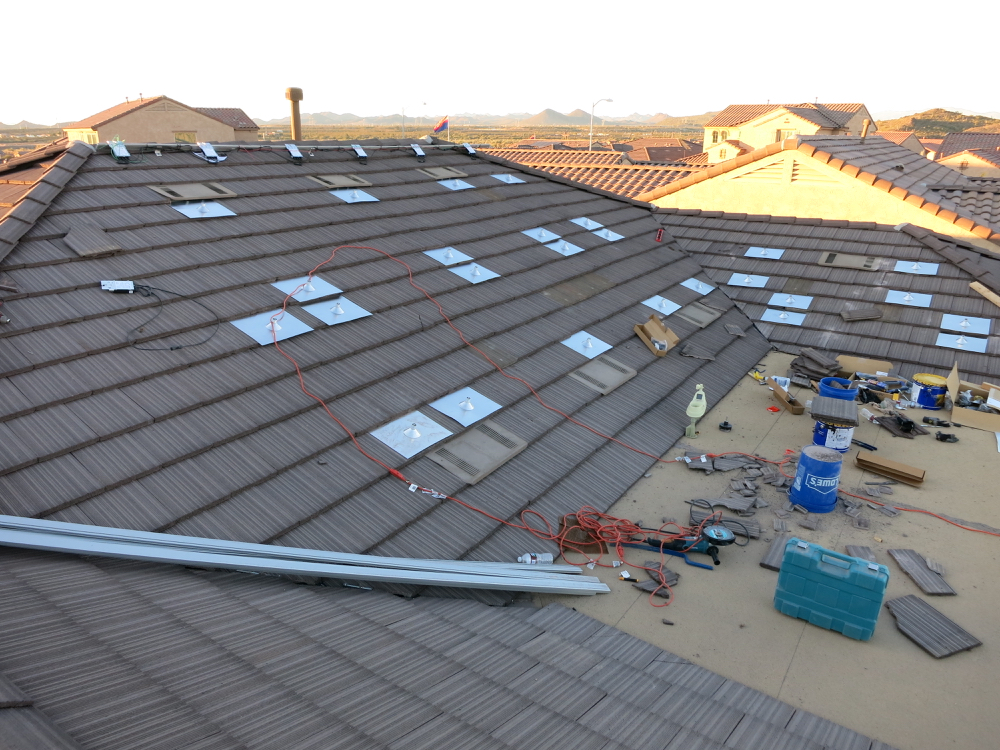
Mounts are freaking DONE! Damn that was a lot of back breaking work today...took about 6 hours to cut probably 140 or so holes. Luckily a buddy of mine helped out, he did the measuring and fitting them back into place, I did the cutting.
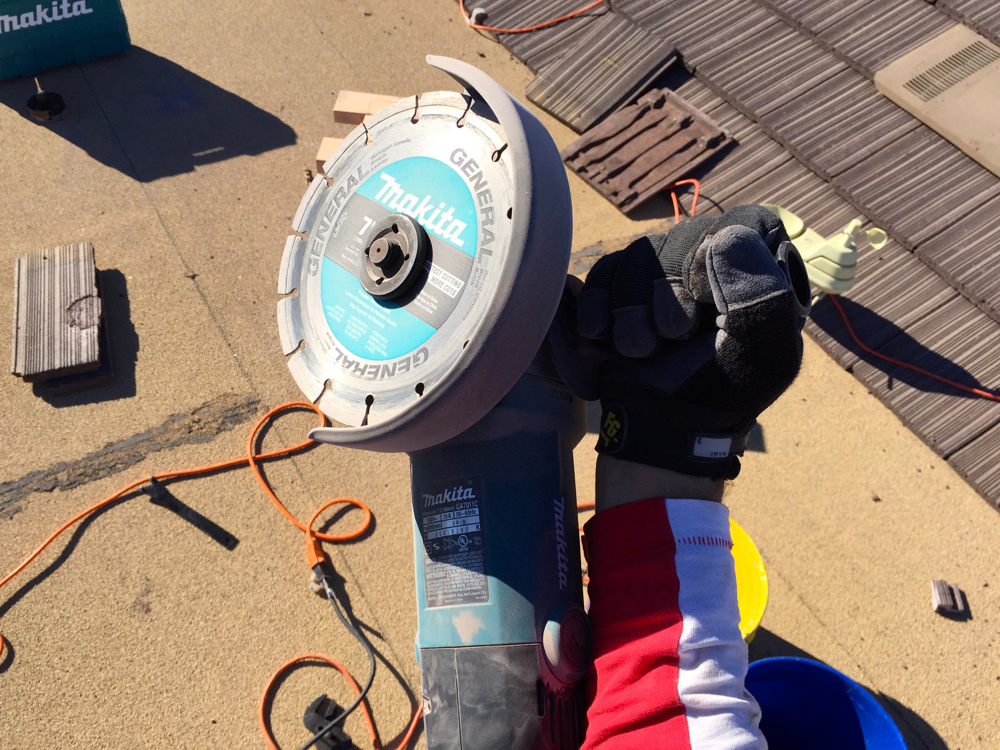
Had to break out the big-boy tools today...first time using one of these, cut like a hot knife through butter. That hole-saw was complete garbage, not only did it take forever to make one hole, but then the piece cut out would get stuck in the saw and it was a bitch to get it back out, took me literally 1 hour to do 6 tiles.
I was thinking about painting the aluminum top flashing but I don't know, they are going to be covered by solar panels and you can barely even see them from ground level as is.
The rails go on tomorrow!!
Comment
-
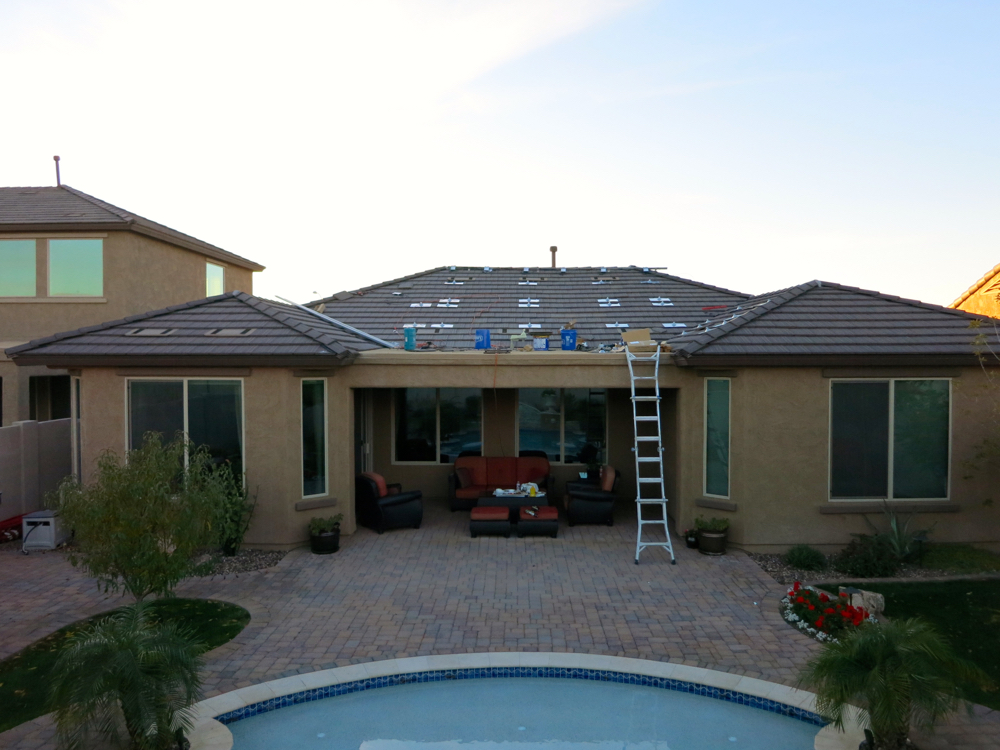
Looks very nice! It's nice that you have that flat staging area on the roof to work on. Otherwise it would even be more of a bear to be working on the sloppy roof. And even your roof slope doesn't seem that steep so I bet that also helps. My roof slope is pretty steep and I'm afraid to just walk on it, let alone do any work on it.
I don't notice the rubber cone that goes on top of the conical aluminum flashing. Do you plan to put those on?
When I was on the roof to wash my panels earlier this summer, I notice that they do straight cuts on the tiles around my post, too. I've wondered why they don't do the circular hole like that Verde Industries shows, or like you first attempted. Now I know why. Looks like you've reached the same conclusion for yourself -> PITA to do the circular cut and faster/easier to do the straight cuts. Probably why the Quickmount video took that approach, too.
Gee, after all this labor for posting and racking, what's left for your contractor to do? Just mount the panels and do the wiring? Are you going to subtract some labor cost from him since you did all the posting and racking? How is that going to work out?Comment
-
Thanks Volusiano! Yeah that flat patio cover is really nice to have there for staging, though I did the cuts on the actual roof instead of carrying tiles back and forth (tried that at first and it was too tiring and time consuming). The roof pitch is 18º so not bad to work on.
I'm putting the rubber donut on the cone tomorrow, ran out of time and energy today. That should be pretty quick though and then I'm going to attach the L feet. Unfortunately I won't get to finish all the racking as I don't have enough. The original installer was supposed to bring more...but who knows now, I may need to order more myself.
And yeah, all he has left to do is put up the panels and I'm probably going to run the wiring myself actually so he doesn't even have to do that.
I don't even care about subtracting the labor part out really, he can keep all the $15k in barter dollars he has received as long as he finishes the job. I haven't heard from him in almost two weeks...which was about the time I told him he needs to redo all the mounts, maybe that's why he's not responding. I'm sure he'll be pretty surprised when he hears it's all done.Comment
-
HX_Guy
Looking real good. Nice job.Comment
-
When using a hole saw on tile... you drill straight through.... then at the last little bit, you angle the drill so the bit cuts through from 11 o' clock to 1 o'clock, then back the bit out.
Then take a small hammer, and rap on the remaining slug. It will snap the last little bit connecting the slug to the tile.
Easy-Peasy....Comment
-
Hah yeah I tried that, twice, both times I cracked the whole tile in two when tapping out the slug. That's when I went to Home Depot and rented the grinder. Even if the hole saw didn't have the problem with the slug getting stuck inside...it was sloooow. Literally like 45 seconds or more to make it through. The grinder was under 10-15 seconds max.Comment
-
Tiles must be brittle from the sun.
At least you got it finished...Comment
-
And I wonder if it were curved (S) tiles, whether it'd be easier or harder to cut with the hole saw, or straight line circular saw. Mine is the curved (S) tile.Comment
-
HX Guy .....I sent you a pm to find out the installer you used, since I live in AZ and would really love to avoid them with my solar project..... if they are still in business that is. I have received multiple bids from multiple installers.... so if you could send me a pm back with the company's name, it would be greatly appreciated and very reassuring... Thanks in advance!Comment


Comment