
Great! Out of my experiences came only one panel that had potential, but haven't found an
application for one that small. It ought to be checked again now at 4 years. Bruce Roe
-
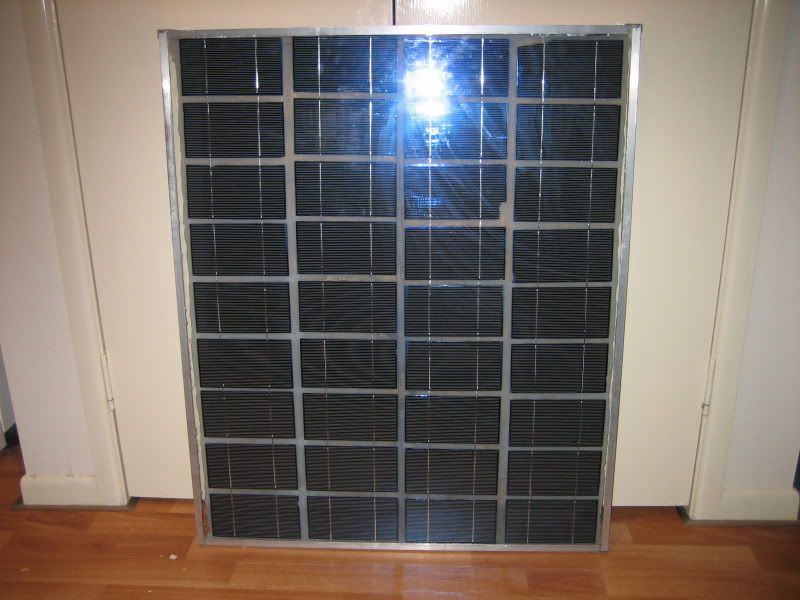
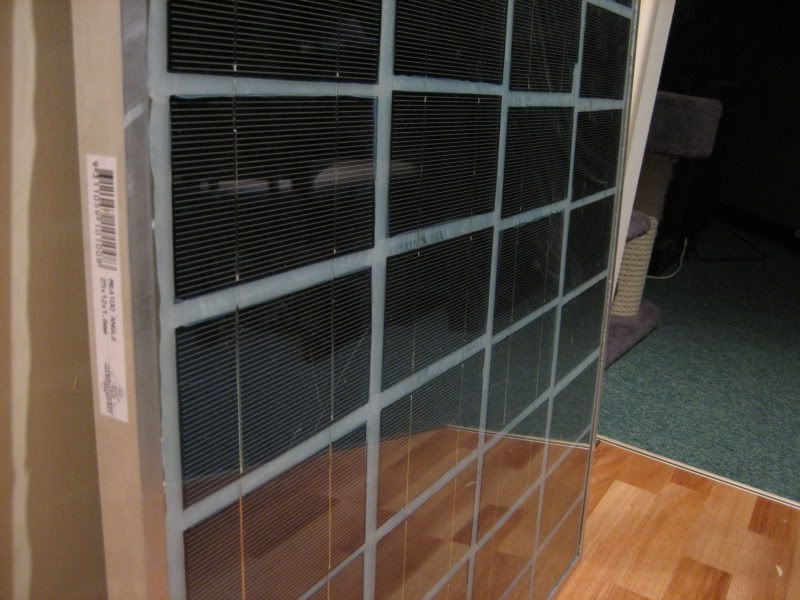
Well 8 years later and 3 out of the five panels are still pushing out some power amazingly it was the crappy painted backing panels that lasted the longest. Rather than full silicone covered cells I simply painted them with house paint lol. They must have dissipated heat better on the back. Either way I'm amazed they held up one panel even has leaks and still pushes a measly 20w lol. Fun project at the time when panels were still fairly expensive. Nowadays they care cheap as.
Leave a comment:
-
-
Read the whole thread. Interesting and really thought out. I like it.Leave a comment:
-
This is pretty impressive. Why don't you start a business with this? IDK if someone asked you this question or you already mentioned it in the forum...Leave a comment:
-
so 6 or 7 years later, one panel died, the rest are putting out normal amps! amazing they survived, some have slight moister in the cells, but this was from day one when they were sealed. So how long will they last now days panels are so cheap i would never bother doing this again, was fun at the time. I picked up a heap of 190w used panels for $50 a pop, they have no leaks and put out full amps, but i guess now you can make huge panels for the same cost i did back then. will find some pics and short amp readings when i get round to it.
Leave a comment:
-
2 years no leaks !!
Hi guys,
Two years in the field, they are still holding strong. Much to my delight, two years ago these DIY were worth it, today with prices having dropped Id be hard pressed to make more, but it was fun and will be interesting to see how they pan out. Ill post yearly updates for those interested hopefully some photos as we go.
The panels power my old mans cabbin, which he has retired to. They run a 24" LCD TV, Digital Tuner, Laptop, Surround speakers and 5 or so 15w lights off the panels, on average they are using about 60ah a day for all their needs, 400ah of T105 has held up for the last few years, still holding strong. Amazing to think two people can live off 60ah a day, but they've done it for two years, they said the LVD cut in once after two weeks of rain. They lower their usage accordingly but pretty cool to see. They are planning to up the TV size to 32" LED and drop the surround speakers, which should equal out to the old fluro driven LCD and old speakers.
Once the Trojans slow down , hopefully they get another 2 years out of them, Ill probably have a go at setting up a lithium 200ah battery bank, with the trojans as backup perhaps.Leave a comment:
-
Good work. your results are one of the few better thought out ones.Leave a comment:
-
-
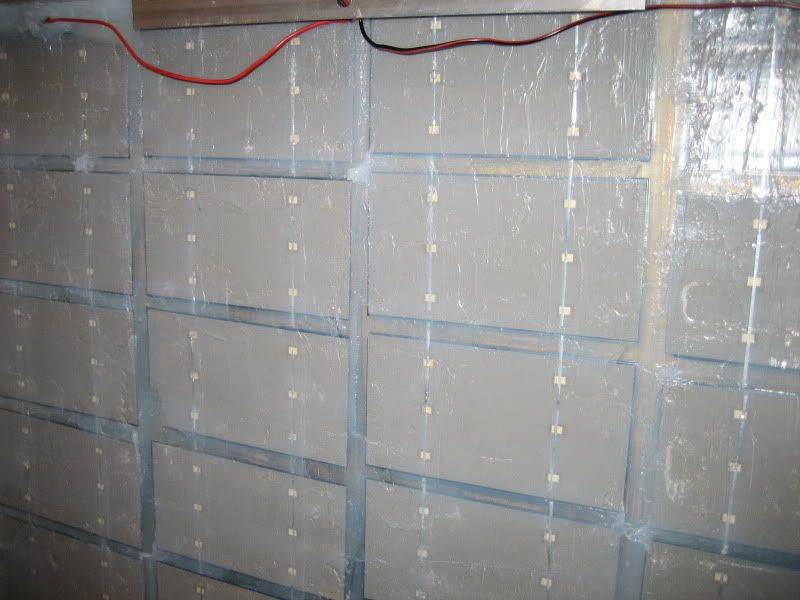
About the silicone
I've been searching on a famous online electronic components store and found this silicone, it's just cheap and it has some interesting propierties:
Plastic & Glass Silicone Sealant
A one part, clear, neutral curing silicone sealant for use in glazing and cladding applications and for perimeter pointing of door and window frames.
Excellent adhesion to porous and non-porous substrates
Excellent adhesion to polycarbonate
Fast cure tack free in 2 hours
Excellent weathering characteristics, including resistance to ozone & UV
Joint movement capabilityLast edited by opqa; 03-08-2011, 12:36 PM.Leave a comment:
-
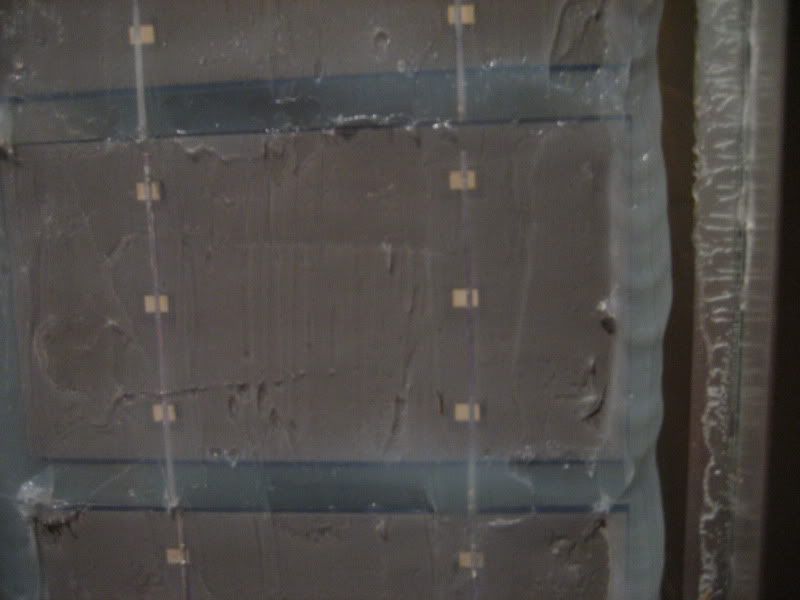
Panels are still holding up well, I checked them at xmas, still going strong, no moisture or corrosion yet. Only one of the panels has slight blemish around the cells, however this happened in the first week after making them and have stayed that way, power seems fine out of that panel still.
Plans for two more in the coming weeks, have some sylgard still in its container, so might put that to use.Leave a comment:
-
hey jeese, what kind of silicone did you use? did you used a brush to spread it?
hows the panel doing? i used an elastomer as back sealant and is doing pretty good.Leave a comment:
-
Upside down panel
Hi all.
New here, but great site. I have followed all the encapsulation threads and was wondering why not build them the other way round. I was thinking of trying this;
Sheet of 3mm plastic with tile spacers glued at appropriate places, tab the back of the cells first, lay them onto the plastic sheet on a bed of either sylgard 184 or to save money, a polymer sealant such as Tech 7, let that set and tab the front of the cells (haven't figured which way to do the bus tabbing yet but that shouldn't present too much of a problem!!). Lay masking tape around the plastic panel curled up at the edges to form a tray. Then pour the sylgard over the cells (Blue part is facing up of course) and lay the glass on top to seal the whole lot.
Any ideas on this? I'm not sure when they're done the other way round that the sealant gets to really seal the face of the cell which I would have thought would be more important than the back.Leave a comment:


Leave a comment: