
You're starting to realize what I did when playing around with DIY cells - GREAT fun, interesting to do, but is what I build really going to be long-lasting and good quality? After making a panel about 3'X3', I decided I wasn't going to fill my roof with solar panels that way, given the amount of free time I have and the number of cells I broke. Maybe I'll use this little panel for something (run a pump? run my christmas lights? who knows) but it won't be powering my house.
A friend has solar electric panels on his house that he installed in 1986. Still going strong. I can't imagine my DIY panels would last that long.
--Lawrence
-

Im thinking of these for my next panel, already soldered together. This would remove about 3 hours of soldering work per panel.Leave a comment:
-
Where can I buy solar cells
I've searched eBay and various other websites and can't seem to find a place to get the solar cells that I want (.55V/3A). All I could find on eBay were broken cells.
Is there a direct source to get these from?
Thanks.Leave a comment:
-
I suspect normal silicone would be effected by hot and cold, the Dow Corning silicone I chose has a wide temp range, hopefully it handles. Here in Australia in the northern region we probably get a low of 5c in winter and a max of 44c in summer, mostly mid to high 30s.
I bought the solar cells off ebay, they are clip tabbed (makes soldering easy), I picked mine up at around $75 AUD including post.
These cells are a pain to work with, the slightest bump and they crack, also the warp when you solder them as they are so thin, really they are designed to be soldered in a lab, with expensive soldering equip. I use an $18 soldering iron which doesnt help.
For my next panels Im thinking Ill get some 6 x 6 cells, thicker and easier to work with.
Cheers
JessLeave a comment:
-
nice work Jesse! can you share how you got the cells from Evergreen? I didn't know they sold them like that. Do you mind how sharing how much you paid for them? Is there a minimum order?
thanks
garyLeave a comment:
-
Congratulation Jestronix ! Good work.
I have one question to you : don't you affraid that your wafers will fall off from glass when there will be hot summer and silicone will increase and then it will be cold winter and silicone will decrease a little bit ?
With Sylgard it is proved that it will stick to glass in winter and in summer...
Thanks,
Arthur.Leave a comment:
-
I would say you have about one hour or alittle more to use sylgard befor it sets up. It then feels like silicone. The EPDM is a roofing stuff. I was looking into it because somewere I seen that it was clear , Optical cleer , But couldn't really find that part of it.
It's sounds like its a rubbery substance that seals real good. I guiss It would be real good for a backing after everything else dried.Leave a comment:
-
Thats a pretty good deal, when I pop postage to Australia on top its about $40 more expensive, but its still the best price ive seen yet.
Thats quiet promising that its thick like honey, it takes hours to set, so you could let it drain for half hour and then use the sylgard on another panel. Just an idea.
Is the EPDM the roofing stuff?Leave a comment:
-
Sylgard is a real thick substance that flows like honey allmost thicker. I have been buying my sylgard for 3 for $125.44 from cssadmin@spsx.com . The other stuff is EPDM Ethylene Propylene Diene Monomer. But i found out that you have to have your cells covered so this stuff does not get on the front. If you did that you would have to use tape to cover each roll between the cell rolls. Then you would have to have a tape that would hold up to heat. The tape is called Kapton Photovotaic Film. Once you put that tape down you can't remove it without destroing your cells.Leave a comment:
-
Thanks Wayne,
Do you know the name of the roofing silicone and the costs? For me Sylgard is just too expensive, it costs me the same as the cells if not more.
I have been thinking about a sylgard bath, where I could dip the entire glass and cells in at once, thus coating every surface with a really really thin layer. It may only be 1mm think, Though Im not sure if it would thin out too much in places, Im going to test some single cells and then weather them for a few years, see how they go. Might make up a 3 cell panel. If I could get 4 or 5 times the coverage, it would make sylgard an economical choice. Im hoping its more like a slime and covers everything nicely.
Wonder if it would give normal thing glass any more strength for hail, as the front would be coated too.
Perhaps a double dip method may work too.Leave a comment:
-
Boy! they are nice. I think you did a great job. After you silicone the backs there is a product out that has a silicone base to it but It's used for roofing , that takes all kind of werther and holds up. I'm making a 72 cell panel then I'm going to use sylgard and after that dries I'm going to put this roofing silicone on it , to see how ling this last.
Good work .Leave a comment:
-
2 more panels
Hi All,
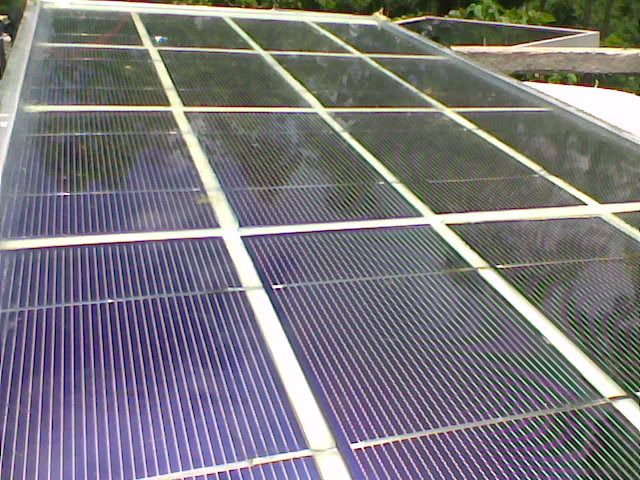
Ive done another two panels, this time reducing the cost a little.
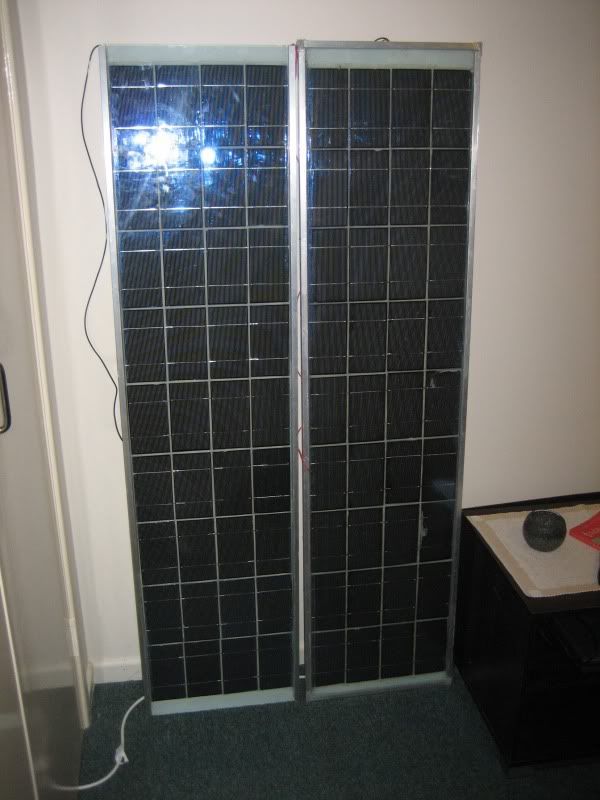
These guys cost me all up $120 AUD to make. They are 60watt panels but id say are around the 55watt output mark.
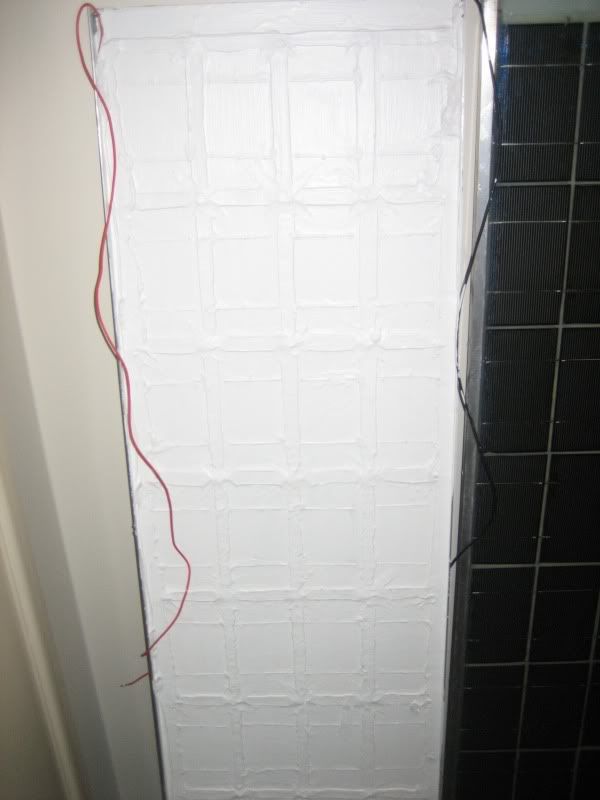
As you can see on the back I have used less silicone, only covering the edges and not even the tabbing this time.
I have then painted over it all with two undercoats and a layer of external house paint, good for UV, expansion and weather proofing.
Im going to put these up for a total of 240watts, not bad for 500 bucks or so. However Ill probably leave my DIY panel building at rest for a while, see how they go for another two or three years out in the sun. With solar prices falling daily and prices falling inline with DIY, Id say Ill probably only do more panels for fun. But here in OZ solar still seems to cost a lot, pretty sad for one of the most polluting countries.
Two ideas are in mind for the future.
1. Love to make an oven with vacume and pressure for making eva encapsulated panels.
2. Full silicone sealed back panel with thicker solar cells. Silicone lasts longer then paint
Every two years, Ill probably recoat the back of the panels, cheating a bit, but hey 5 Bucks worth of paint could extend the life a lot more.
I have my doubts about these panels though, I suspect there may be lots of tiny cracks in those fragile string cells, they hide cracks everywhere, over time these will cause heat issues. Second I think the oxygen which is trapped in each cell will oxidize the cells. THird water will get in somewhere.
See how it goes.Leave a comment:
-
Good photos and documentation will only encourage copy-cats, especially, if the panels work !Leave a comment:
-
Real nice pictures and your cell look real good. Very nice going. I have had my panels outside now for 5 months in cold and hot weather. -20 degrees below to 80 degrees above. Good GoingLeave a comment:
-
Hi All,
I thought Id share some updates on my DIY panels.
Ive had them up and running for about 6 weeks. They are still in great shape, and pumping in 3 amps each.
These panels have been through a couple storms, and scorching 40c days, so far theres no moisture in the cells. Also there are no expansion stresses either.
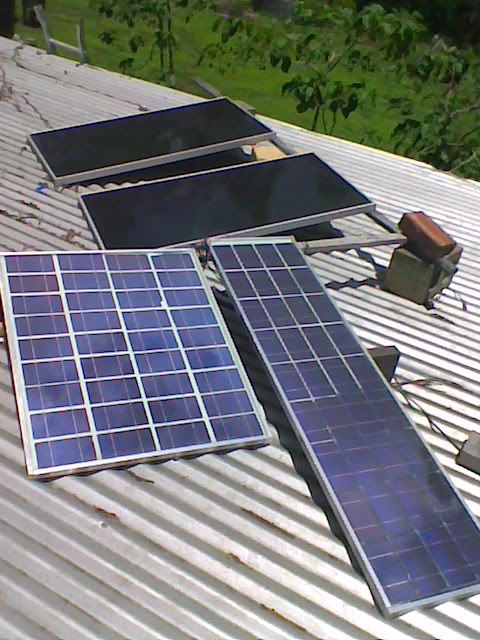
Here are the panels next to some 40watt amorphous panels. Those 40watt panels put 2 amps each in, and my home made 60watt panels are putting in 3 amps each, im pretty happy with them, dont forget,this is 40c and up on a hot tin roof.
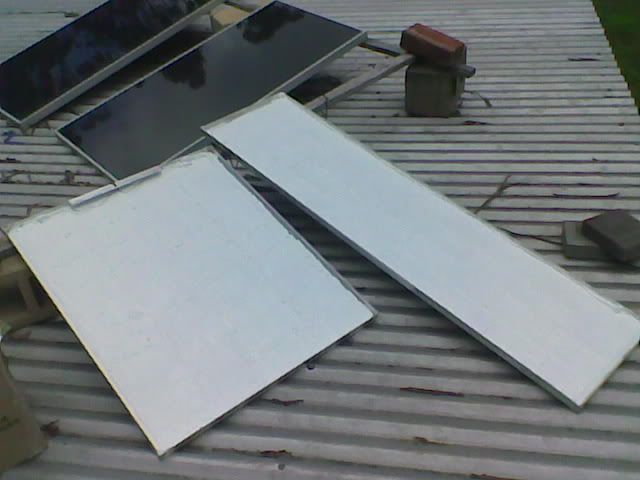
Here you can see Ive painted the back of the panels, yep worked out how to paint nicely over silicone. I found a spray paint that likes silicone, and then I do two really thick coats of dulux exterior paint, this stuff expands and contracts and locks out water.
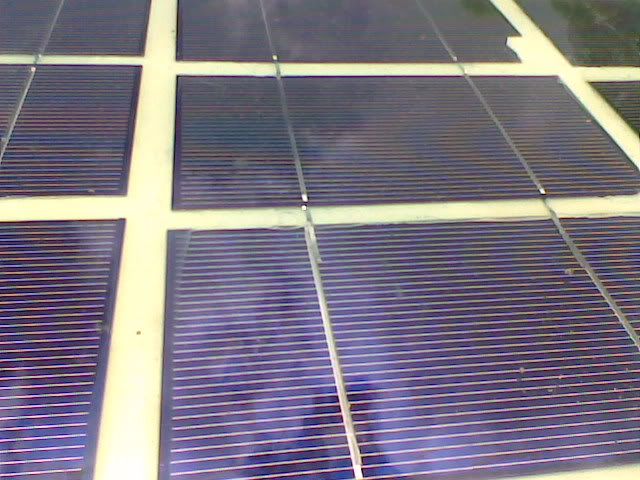
Heres some close shots of the cells, all still in good shape, but hey its only early days,
Im currently working on my next panel which is only has silicone around the cells and over the tin bus, but not on the cells, then I have painted over it.
Ive managed to get these panels down to $130 Australian, which aint bad, even if I get 10 years out of them, its still a good price.
CheersLeave a comment:


Leave a comment: